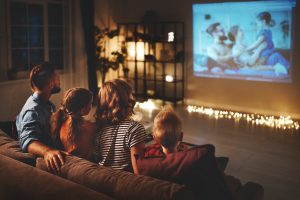
The digital era has seen a colossal shift in how we consume visual content, with the traditional television being challenged by a formidable alternative: projectors. So, the question that many are asking is: Can projectors be used as a TV? This guide will delve into the details, pros, and cons of using a projector to replace a TV, aiming to provide you with the knowledge needed to make an informed decision.
The Potential of Projectors
Projectors have long been associated with cinema halls and corporate conference rooms. However, their use in domestic environments is becoming increasingly popular. One of the main reasons for this is the unparalleled screen size that projectors offer.
Size Matters
The primary advantage of using a projector instead of a TV is the screen size. A projector can project a 100-inch-diagonal image. This is particularly attractive to individuals who enjoy immersive experiences when watching movies or playing video games.
Space Consumption
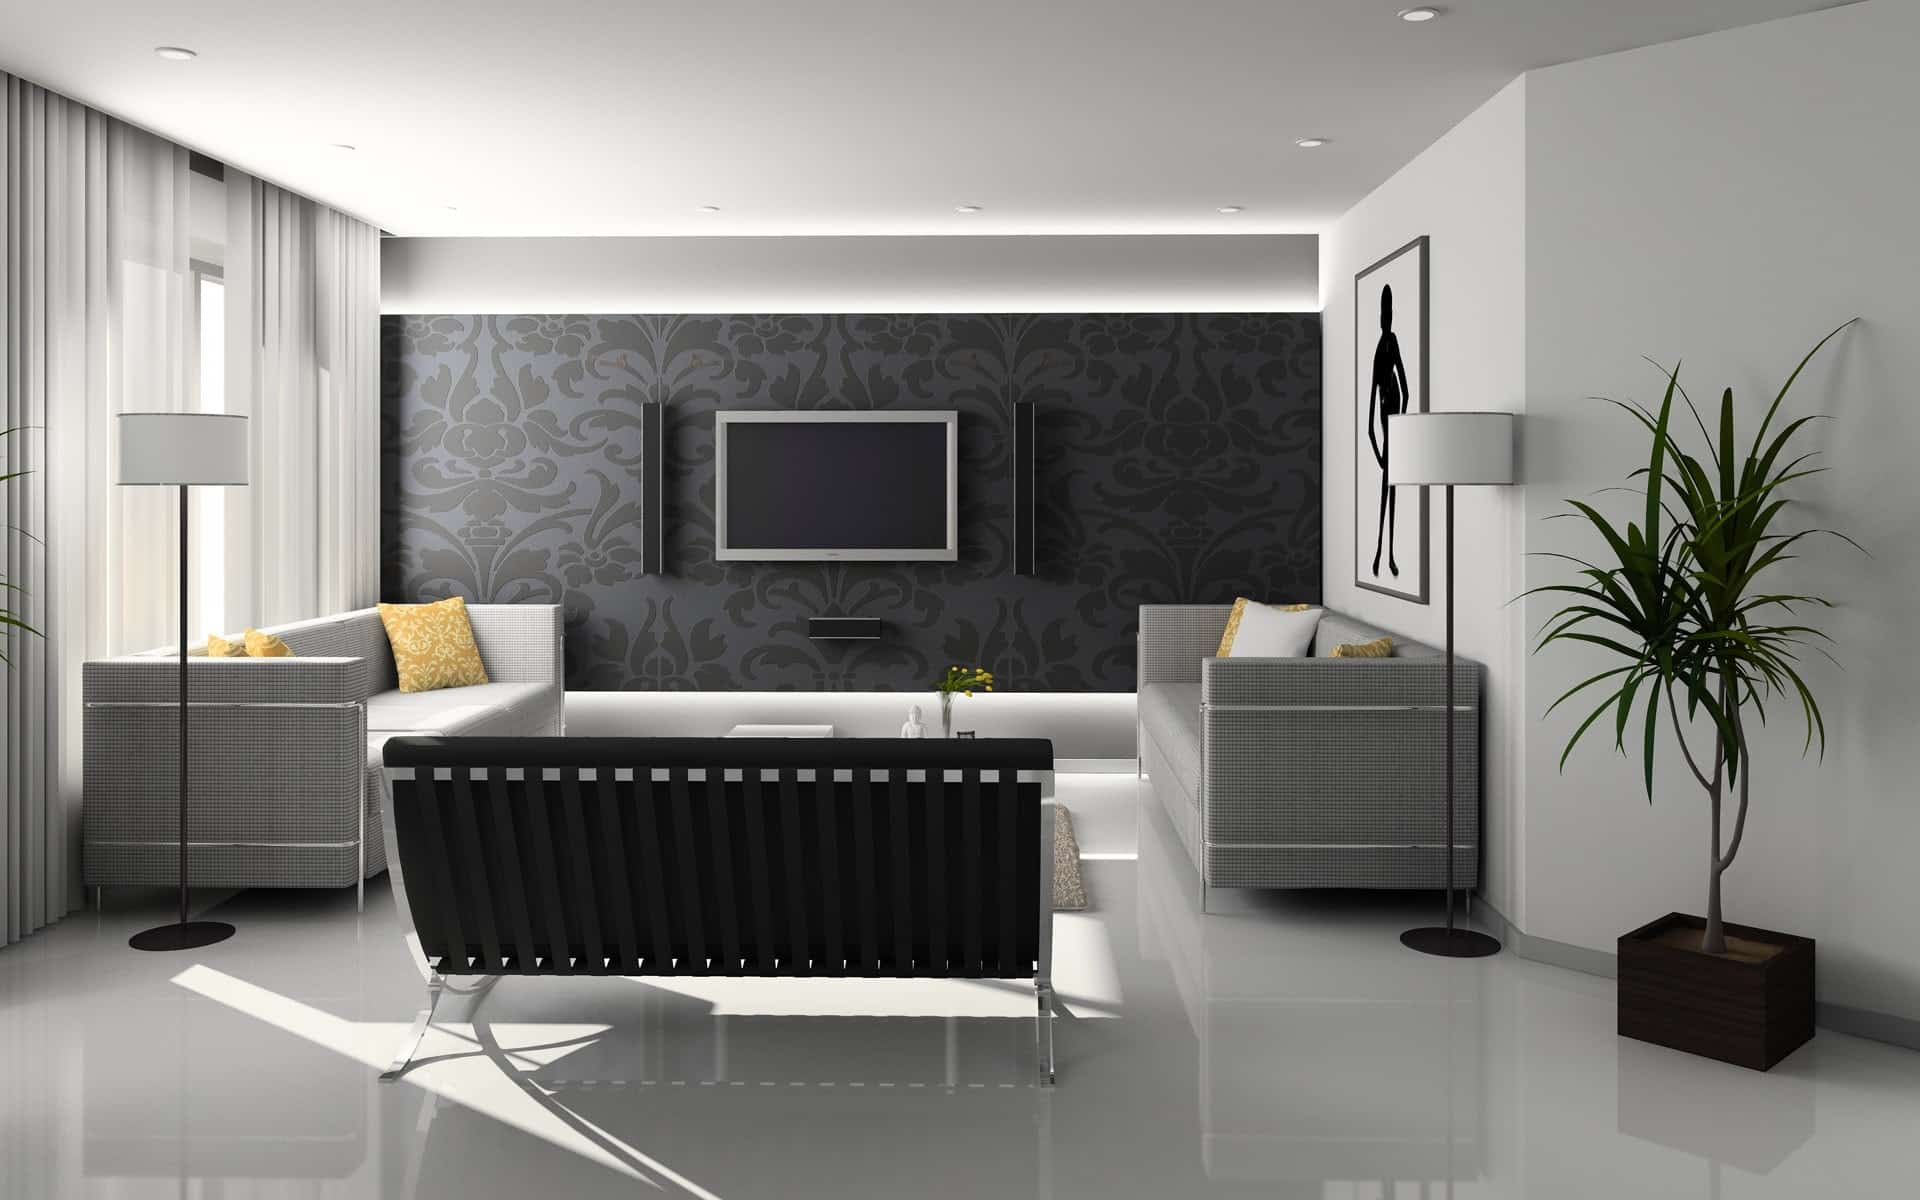
Unsurprisingly, a 100-inch TV takes up a significant amount of room. In contrast, projectors are typically compact and lightweight, meaning they take up considerably less space. They can be easily stashed away when not in use or mounted in relatively out-of-the-way places, such as on the ceiling.
When it comes to projectors, there are two main types that you will come across – short throw projectors and long throw projectors. Understanding the difference between these two types is important when considering which one is right for your needs.
Short Throw vs. Long Throw Projectors
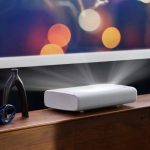
Let’s start with short throw projectors. As the name suggests, these projectors are designed to be placed close to the screen or wall on which the image will be projected. This means that you can have a large image even in a small room, as the projector can be positioned just a few feet away. This is especially useful in classrooms or small meeting rooms where space is limited. Short throw projectors also have a wide-angle lens, which reduces the chances of shadows being cast on the screen when someone walks in front of the projector. They are also great for gaming as they allow for a more immersive experience with larger images.
On the other hand, long throw projectors are designed to be placed at a distance from the screen or wall. They are best suited for larger rooms or venues where there is ample space for projection. These projectors have a narrower angle lens, which allows them to project images at a longer distance. Long throw projectors are commonly used in auditoriums, conference halls, and outdoor events where a large image size is required. They are also ideal for home theaters, where you can set up a dedicated space for projection.
One of the main differences between short throw and long throw projectors is the distance at which they need to be placed from the screen or wall. While short throw projectors can be positioned just a few feet away, long throw projectors need to be placed at a considerable distance.
Another difference between these two types of projectors is the price. Generally, short throw projectors tend to be more expensive than long throw projectors. This is because short throw projectors require specialized lenses and technology to achieve their short projection distance capabilities.
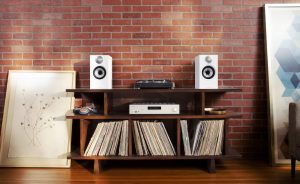
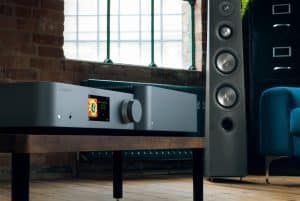
Understanding the Components
Before we dive into how to use a projector as a TV, let’s understand some key components.
TV Tuner
A TV tuner is a device that decodes the signal coming from your TV antenna, allowing you to receive and display broadcast signals on the projector.
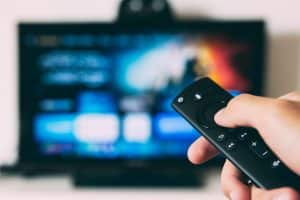
Cable Box
To use your projector as a TV, you’ll need to connect a cable or satellite box. This device receives the TV signal from your cable or satellite provider and converts it into a format that can be displayed on the projector.
Gaming Console
For gaming enthusiasts, connecting a gaming console to a projector can provide a larger and more immersive display.
Connecting a DVD or Blu-ray player to your projector allows you to enjoy your favorite films on a big screen.
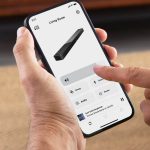
Setting Up the Projector
Setting up a projector to use it as a TV involves several key steps:
Mounting the Projector
Mounting the projector securely is crucial to ensure stable and optimal viewing. Here’s how:
- Choose the desired location for mounting the projector.
- Use a stud finder to locate a solid beam or wooden joist in the ceiling or ensure the surface can support the projector’s weight.
- Mark the drilling points on the ceiling or surface, aligning them with the projector’s mounting holes.
- Drill pilot holes at the marked points and insert anchors.
- Attach the projector mount to the ceiling or surface using screws and tighten securely.
- Carefully attach the projector to the mount using the appropriate screws or brackets.
Properly connecting the power cables is essential to power up the projector. Follow these steps:
- Locate the power input port on the projector.
- Connect one end of the power cable to the power input port of the projector.
- Connect the other end of the power cable to a power outlet.
- Ensure the power cable is securely plugged in.
Adjusting Display Settings
Adjusting the display settings is necessary to optimize the visual quality of the projected image. Follow these instructions:
- Power on the projector and navigate to the display settings menu.
- Adjust the resolution settings to match the desired output quality.
- Configure the aspect ratio settings to fit your screen or desired view.
- Fine-tune the brightness, contrast, and color settings to your preference.
- Save the changes and exit the display settings menu.
Projector Connectivity Options
Here are some connectivity options to consider when using a projector as a TV:
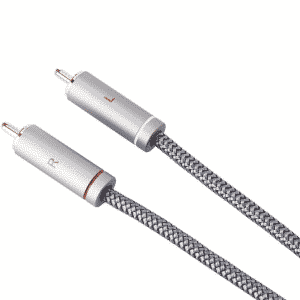
HDMI (High-Definition Multimedia Interface) is a popular and versatile connectivity option for using a projector as a TV. It allows you to transmit high-quality audio and video signals from your TV to the projector.
VGA
VGA (Video Graphics Array) is an older type of connection that is still commonly found in projectors. It allows you to transmit analog video signals from your TV to the projector.
Component Video and Audio Connections
Component video and audio connections are another option for connecting your TV to a projector. These connections use separate cables for transmitting video and audio signals, resulting in better quality compared to VGA.
Choosing the Appropriate Connectivity Option
When selecting the connectivity option for your projector, it’s crucial to consider the compatibility between your TV and projector. Check the available ports on both devices and ensure they support the same type of connection.
Adjusting Projector Display Settings
Once you have set up your projector, it is important to adjust the display settings for the best viewing experience. Here are some key adjustments you can make:
Resolution
To adjust the resolution on your projector, go to the settings menu. Choose the highest resolution available for the best picture quality.
Aspect Ratio
Aspect ratio refers to the proportional relationship between the width and height of the image. Adjust the aspect ratio according to the source material you are watching to avoid image stretching or cropping.
Color Calibration
To calibrate the colors on your projector, access the color settings in the menu. Adjust the contrast, brightness, hue, and saturation settings for accurate color reproduction.
Keystone Correction
Keystone correction is useful for correcting image distortion caused by the projector being placed at an angle or not aligned properly with the screen.
Focus Adjustment
Achieving a sharp focus is crucial for a clear and detailed image. Use test patterns or text to help you achieve the sharpest focus possible.
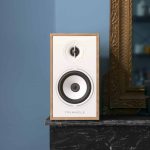
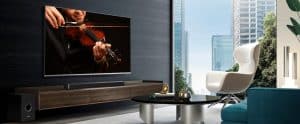
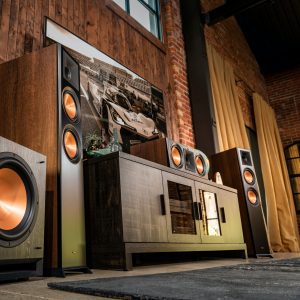
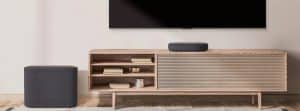
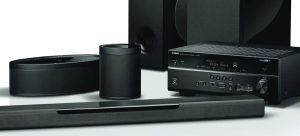
Audio Setup
When using a projector as a TV, getting the audio setup right is essential for an immersive viewing experience. To enhance the sound quality, you can connect external audio devices like soundbars and speakers to your projector.
If you prefer a simpler audio setup, you can make use of the projector’s built-in audio capabilities. To ensure synchronized sound with the projected video, check if your projector has audio delay settings and adjust the delay until the audio and video are perfectly synced.
Projection Screen Options
When using a projector as a TV, selecting the right projection screen is crucial for achieving optimal image quality. Here are some options to consider:
Choosing the Right Projection Screen
Consider factors such as Screen Material, Screen Size, Aspect Ratio, and Gain when selecting a screen for optimal image quality.
Setting Up the Projection Screen
Once you have chosen the right projection screen, follow these steps to set it up in your desired viewing environment.
Optimizing the Viewing Environment
Creating a good viewing environment is crucial to ensure the best possible experience when using a projector as a TV.
Controlling Ambient Light
Close curtains or blinds to minimize natural light entering the room. Avoid using bright overhead lighting and opt for softer, ambient lighting instead.
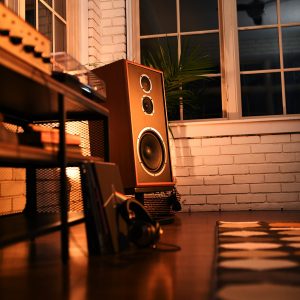
Positioning the Projector
Place the projector on a stable surface or mount it securely on the ceiling. Ensure proper ventilation around the projector to prevent overheating.
Conclusion
In conclusion, using a projector as a TV can revolutionize your home entertainment experience. It’s a viable option for anyone looking to achieve a larger-than-life viewing experience, whether for movies, TV shows, or games. So, the answer to the question, “can projector replace tv?”, is a resounding yes.
For a wide range of projectors that can effectively serve as your TV, check out Centrehifi.com or visit our stores and ask for our expert’s opinions on how to choose the right projector for your needs. With the right setup, a projector to replace tv can indeed become a reality, offering a truly cinematic experience right in your living room.


 TELEVISIONS